Uncategorised
Why House Tarp is Best for a Leaking Roof?
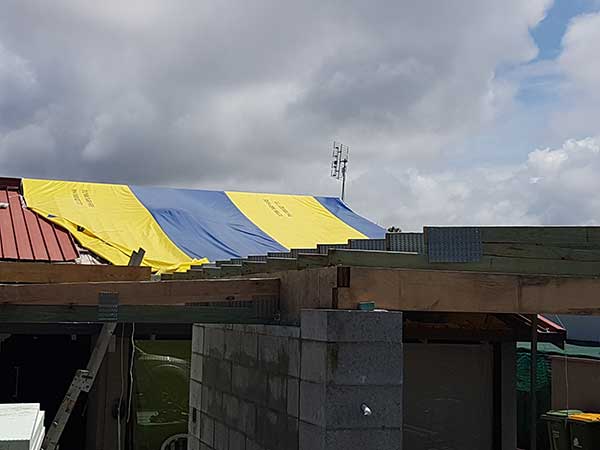
When you find a leak at home, you need to work fast and find a solution to prevent water from entering your home. In such emergency cases, roof tarps can come in handy until a roof repair professional comes to your rescue. Follow these steps in such emergency cases to tarp your roof temporarily.
1. Collect the Right Supplies
The first thing to do is collect the necessary supplies for the job. Make sure to bring together a ladder, knife, broom, 2×4 wooden planks, cordless drills, 3 ¼ nails, and saw. Further, you will need a house tarp that must be big enough to cover the damaged area.
2. Cover Holes
This step is skippable. However, if you notice holes in the plywood, they must be covered. For this purchase, plywood and cover the area while securing the outer space with screws every 6 to 12 inches.
3. Clear Debris
For places with frequent hurricanes, roof damage is quite common. In this case, you must first clear the debris off the roof before placing your roof tarp.
4. Place the Tarp
Unroll the tarp to cover the damaged area of the roof's eaves and peaks. While covering the damaged area, make sure to leave at least a foot of roof tarp on either side. Now, roll the edges using 2×4's to secure the wood while nailing it to the tarp with 3 ¼ inch nails. Once done, sandwich the tarp between 2×4 while temporarily securing the bottom to the roof
with a nail.
5. Secure the Tarp to Your Roof
Lastly, you need to secure the house tarp to prevent water from entering inside. Use the screw gun to screw through the 2x4s ensuring the screws reaches the roof. If you see any additional loose edges, make sure to secure them. Finally, see all the edges are secured to keep your home debris and water-free.
Placing Roof Trap to Protect Home
Roof tarps in an emergency can come in handy. Therefore, it's better to keep some at home. If you wish to purchase a house tarp, better connect with Flynn Traps to buy affordable, yet quality tarps fit for all your needs.

